Want to get creative this summer? We’ve got 3 new water-saving crafts for you to try at home, from self-watering devices to colourful water collecting creations. Check out the complete step-by-step guide for each craft below.
Self-watering planter
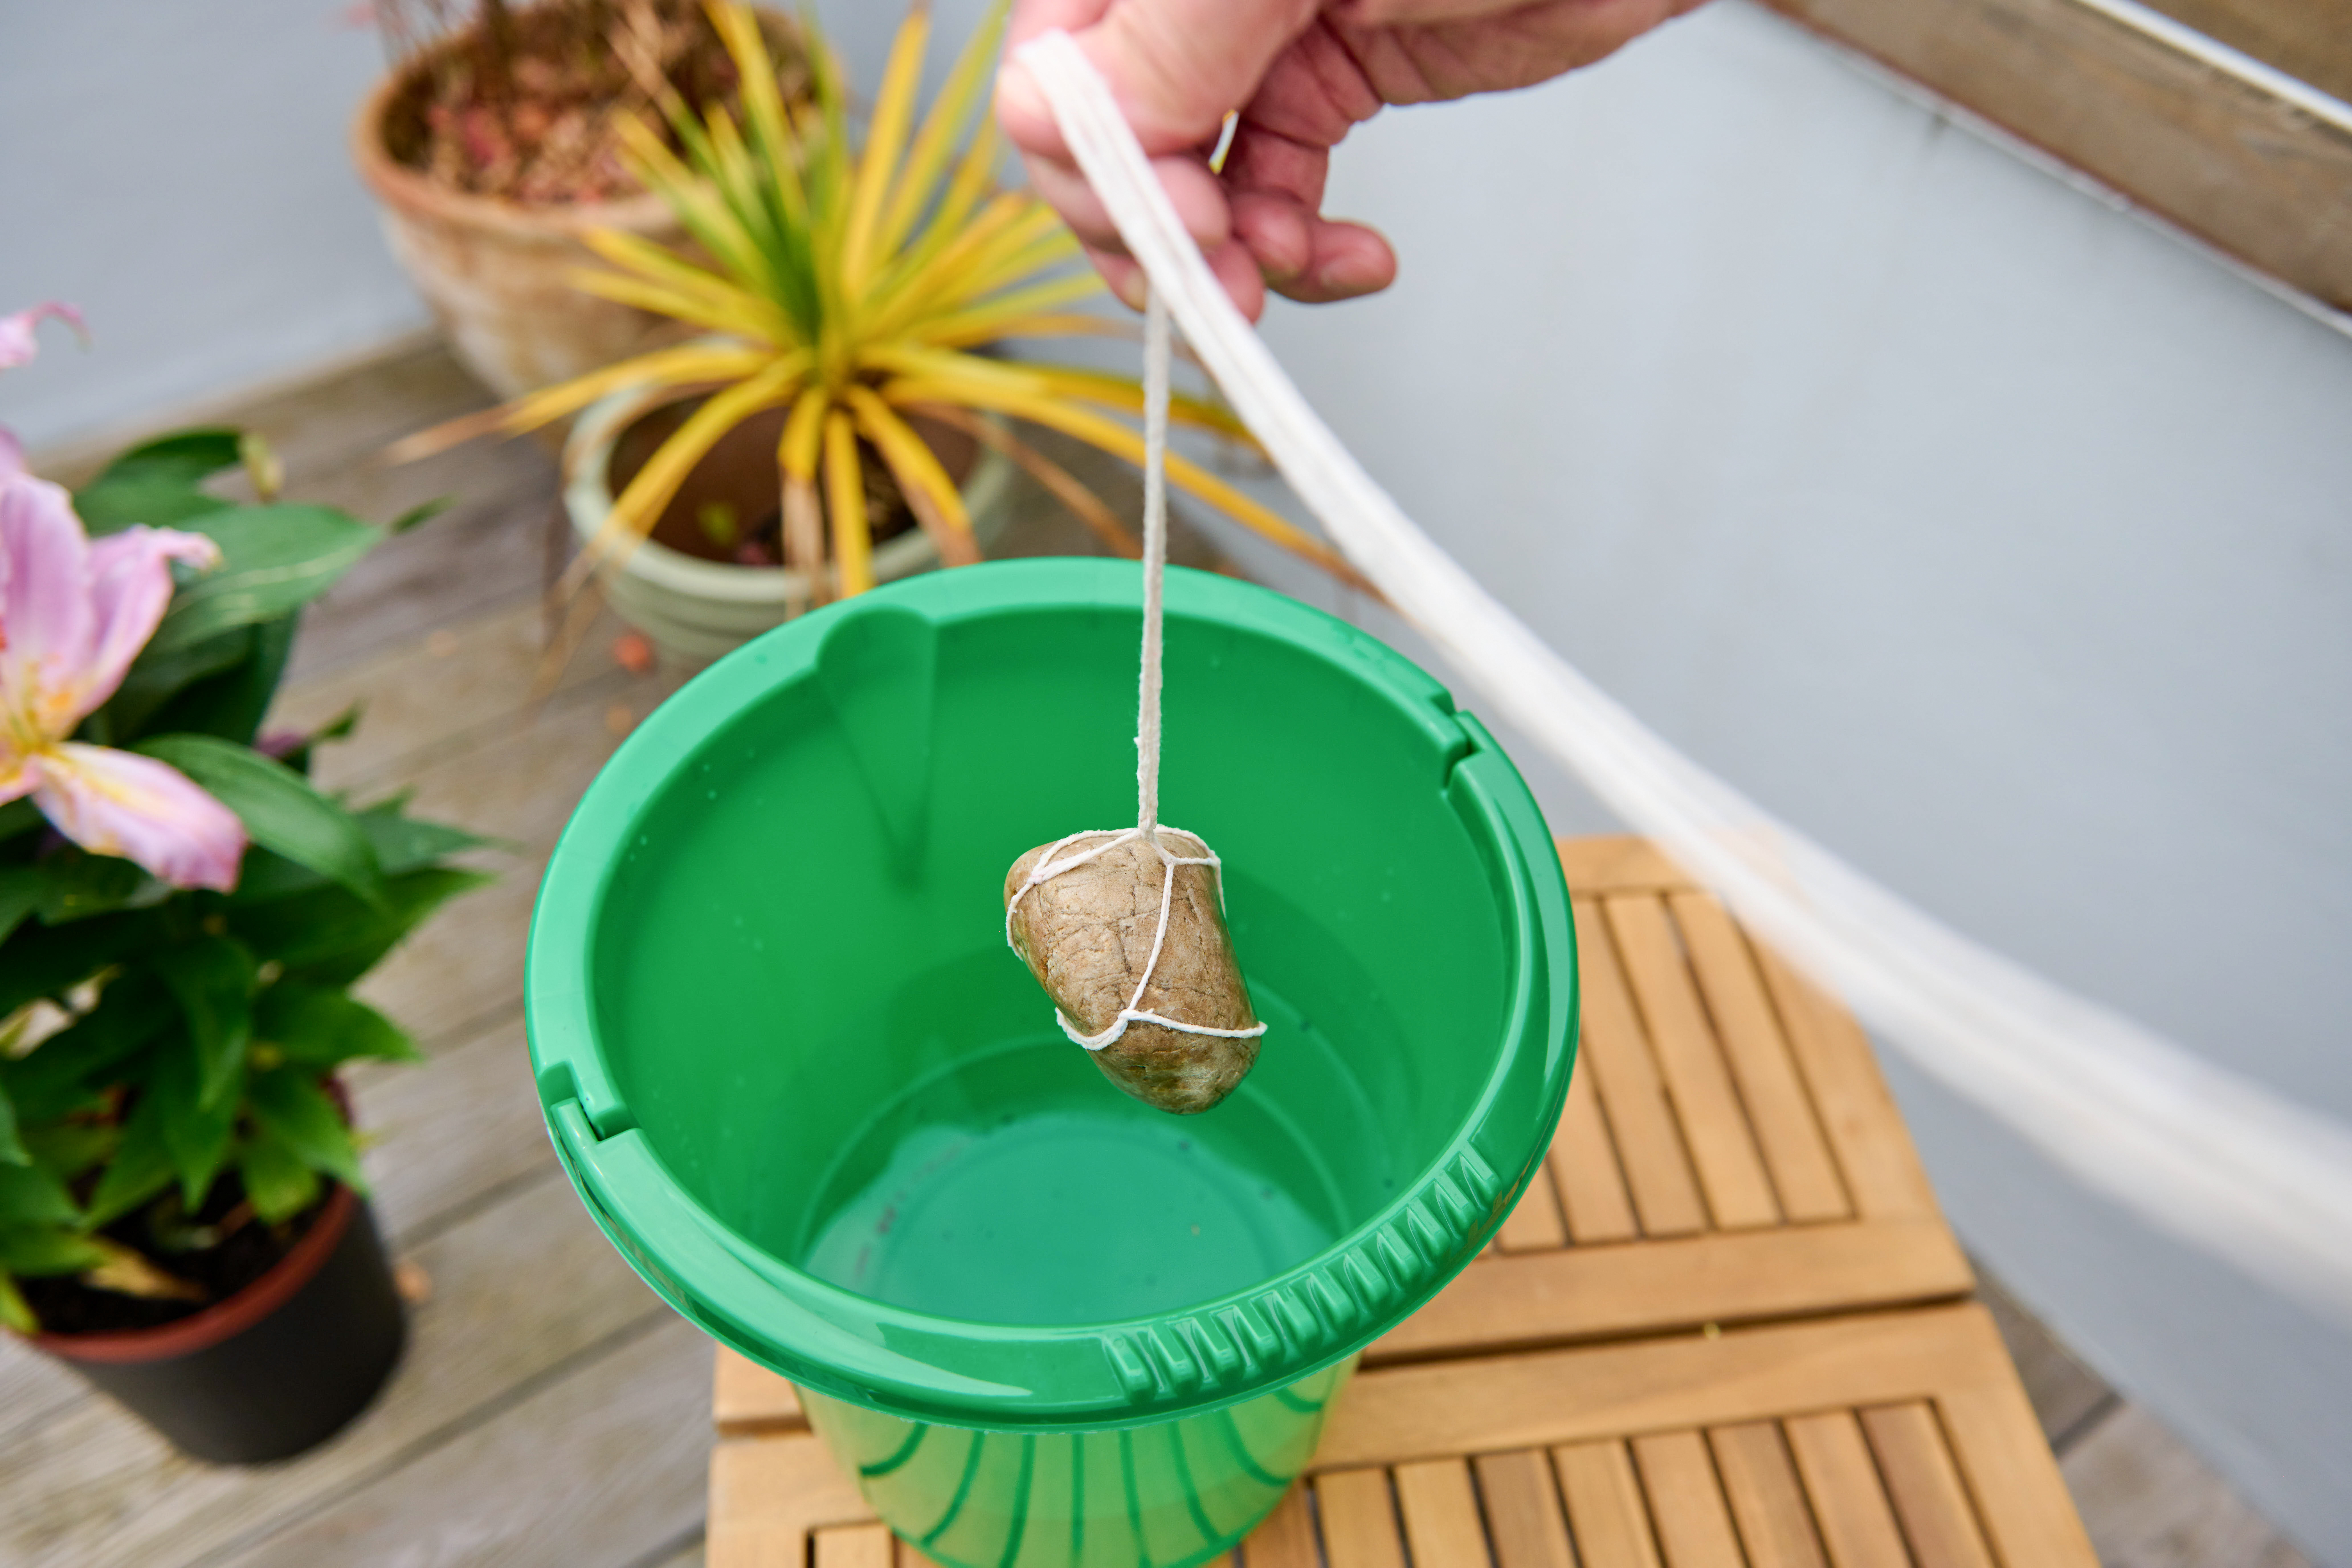
With just a stone, a bucket and a few pieces of string, you can create a clever self-watering drip irrigation system to water your plants while you’re away.
You’ll need:
- A weighted stone
- A large bucket (the size will depend on how many plants you want to water)
- A large roll of string
How to make it:
- Fill up a bucket with water.
- Cut a few pieces of string (as many as the number of plants you wish to water) and soak them completely in water.
- Place the bucket on a surface higher than the plants.
- Tie the strings around a stone and place it at the bottom of your bucket.
- Take the soaked pieces of string and place each into a plant pot.
- Coil the strings on the surface of the plant pot and push the end into the soil.

Rainbow water wall
Entertain the kids on a budget this summer with this colour water wall. With all play and no water waste, it’s the perfect activity for the unpredictable weather this summer holidays.
You’ll need:
- Wooden pallet
- Colourful sensory tubes
- Large empty milk cartons to collect rain
- Hook screws
- Bar saddle grips
- Super glue
- Large plastic box with the lid off
How to make it:
- Attach your wooden pallet to a wall using the hook screws.
- Stretch out the sensory tubes and attach them to the pallet using the bar saddle grips. Tip: You can use a hand drill to screw them into place.
- You can mix and match the colours of the tubes by simply screwing them together and weaving them down the pallet. You may need more saddle grips to attach the tubes to the wall.
- Repeat this process for as many tubes as you have.
- Grab your empty milk cartons and cut off the bottoms. Place them upside down so the opening on the milk carton lines up with the tube.
- Then, attach the milk cartons to the tubes with super glue to secure them.
- Finally, pop your large plastic box underneath the button of your pipes and enjoy.
Recycled drip irrigation bottle
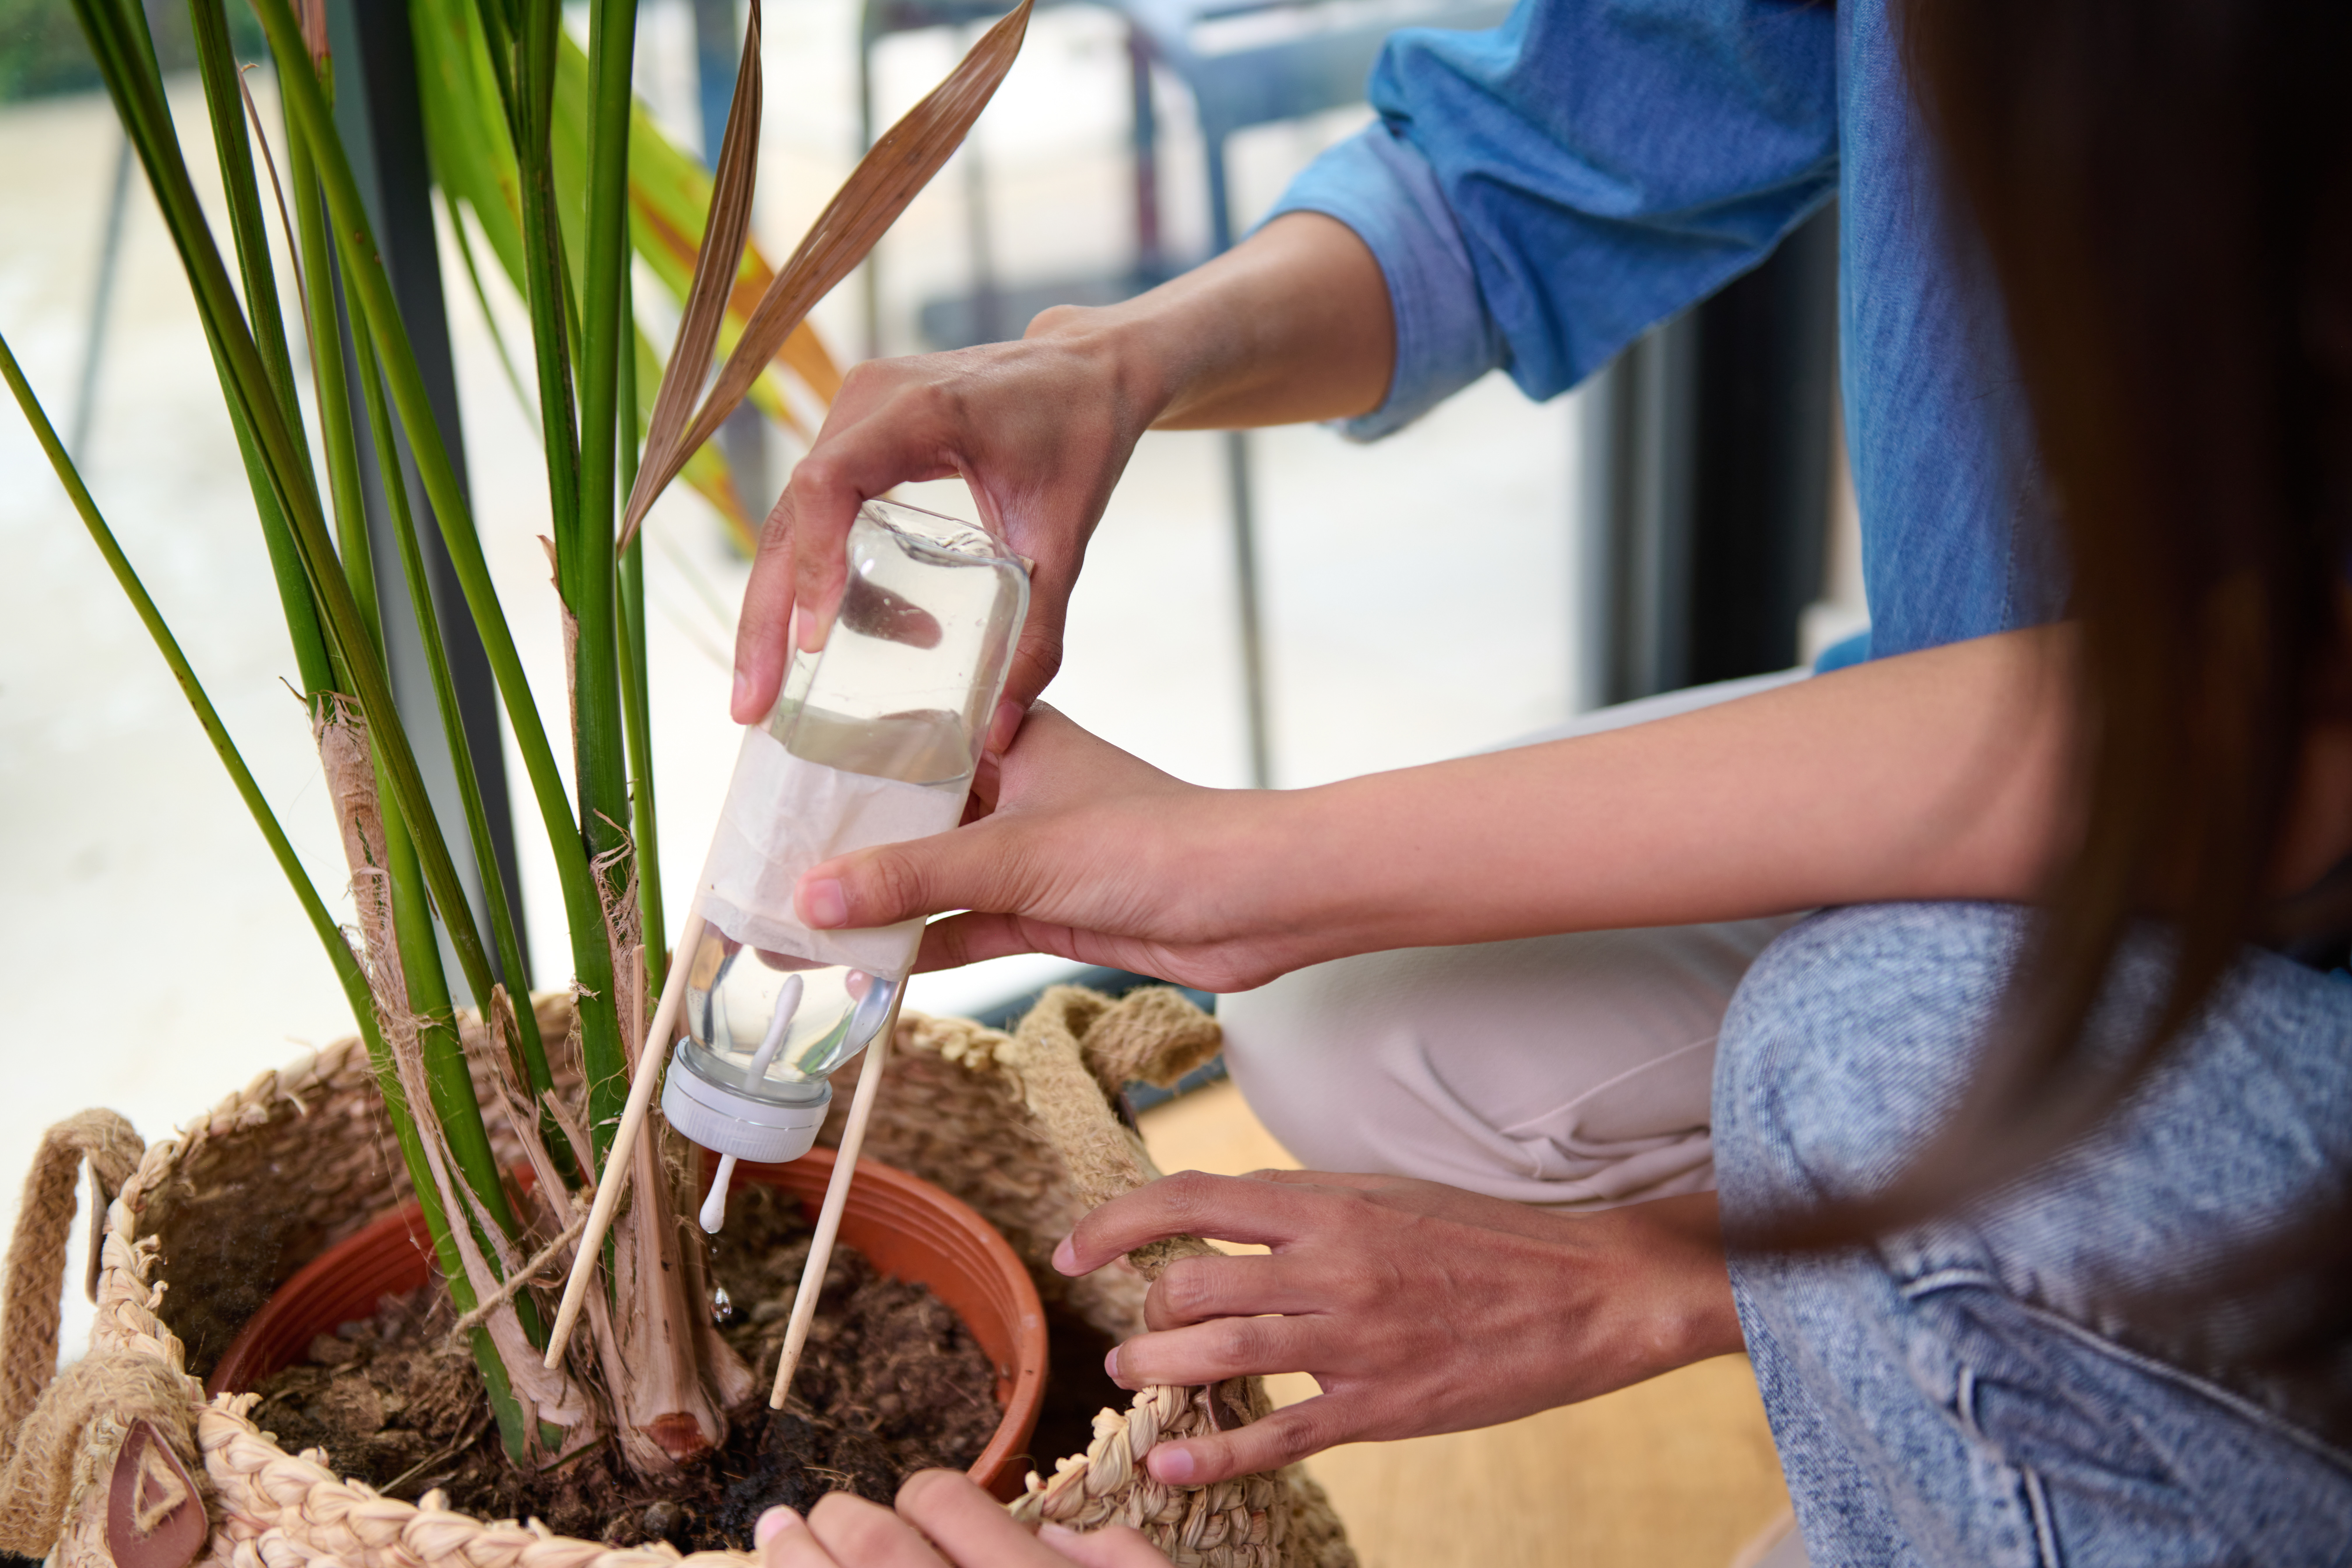
Calling all plant parents. Before you recycle your empty plastic bottles, keep them and try this handy craft. Never worry about overwatering or forgetting to water your plants again.
You’ll need:
- An empty plastic bottle
- A cotton swab
- Wooden sticks (e.g. chopsticks)
- Tape
How to make it:
- Using a heated tool, poke a hole in the lid of your bottle.
- Insert a cotton swab through the hole.
- Fill the plastic bottle with water.
- Tape two wooden sticks to either side of the bottle.
- Screw the lid back into the water bottle and flip it upside down.
- Push the two sticks into the soil of your plants so the cotton swap sits just above and can slowly drip water into your pot.

We hope you’ll join us and step into our world of water-saving by creating these innovative crafts this summer. Share pictures of your DIY creations with @affinitywater on Instagram, don’t forget to tag us.
Discover more water-saving tips.